Last time, you learned about the prerequisites for working with GTM. Now, it is time to put the theory around it into practice. Before you do anything in GTM container, ask yourself 3 simple questions:
- Where do you want the tag to send information on your website?
- When do you want the tag to send information?
- What type of information are you planning to send?
In this blog, you are going to learn how to answer the first two questions. To begin with, open your Google Tag Manager container. You will see this in the left sidebar:
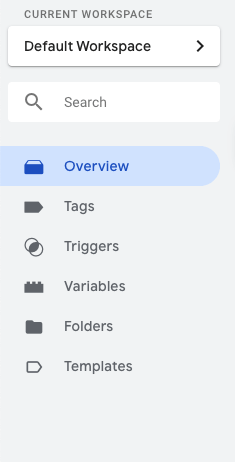
This overview shows you all the changes that you made after you published your last version. The tags folder shows you all the tags you have. A tag is basically a piece of code you want to insert on your website. But no need to worry, most of the tags are already made for you and all you will need to do is to give them specific information that you want to send. We are not going to touch tags yet though.
Next are triggers. Triggers are simply commands that specify where and when tags should be fired. This is one of the most important things you should consider when working with GTM. If you configure Trigger incorrectly, it will most definitely result in completely inaccurate data, and there is even a slight chance that you may break down the website functionality. That’s why we are starting our GTM learning with understanding some basic Triggers.
The forth button is for ‘Variables’. This is principally the information that GTM will take from your website. Also, The variables will help us to make triggers more specific depending on our cause.
Create your very first Trigger!
Click on the ‘Triggers’ button on the left sidebar. You will be welcomed with this page:
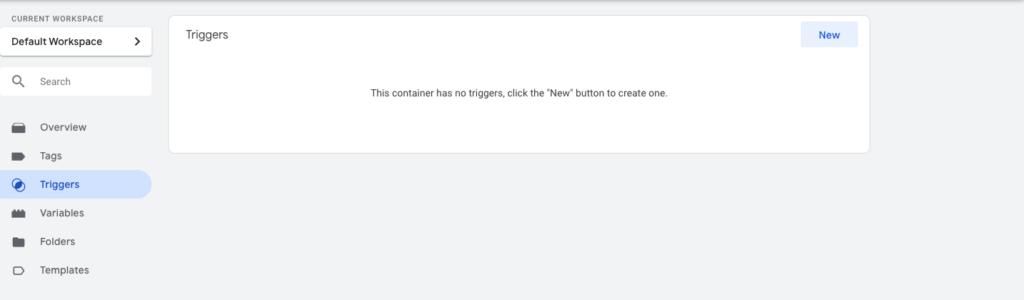
Click on the ‘New’, and then on ‘Trigger Configuration’. You will see this type of menu:
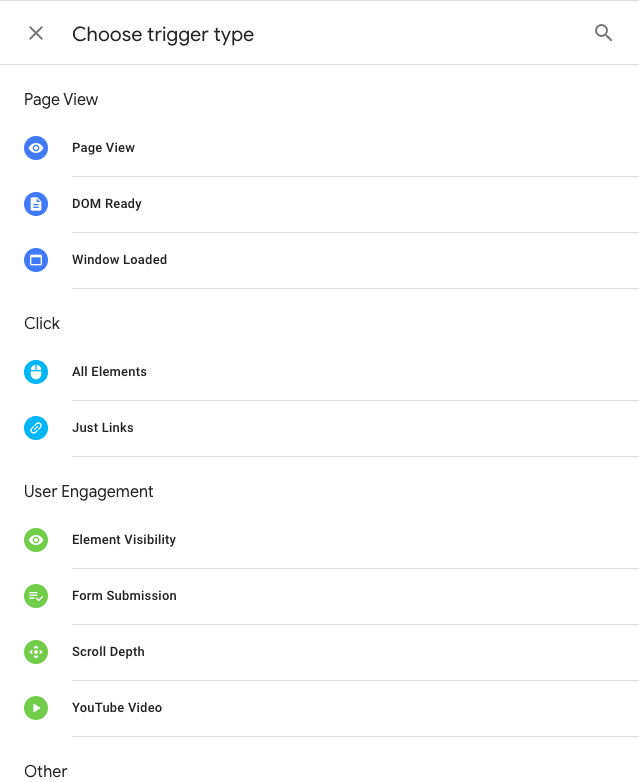
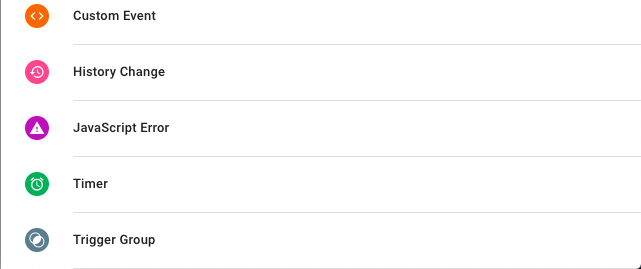
Now open a website where your GTM container is installed (ideally a test or staging site). Pick a link you want to track, for example a Facebook icon in the header that links to your company’s Facebook page. Our first Trigger will be a click on that link.
1. Link Click Trigger
In our GTM container, choose the Click section and then ‘Just Links’, as the Facebook icon is a link.
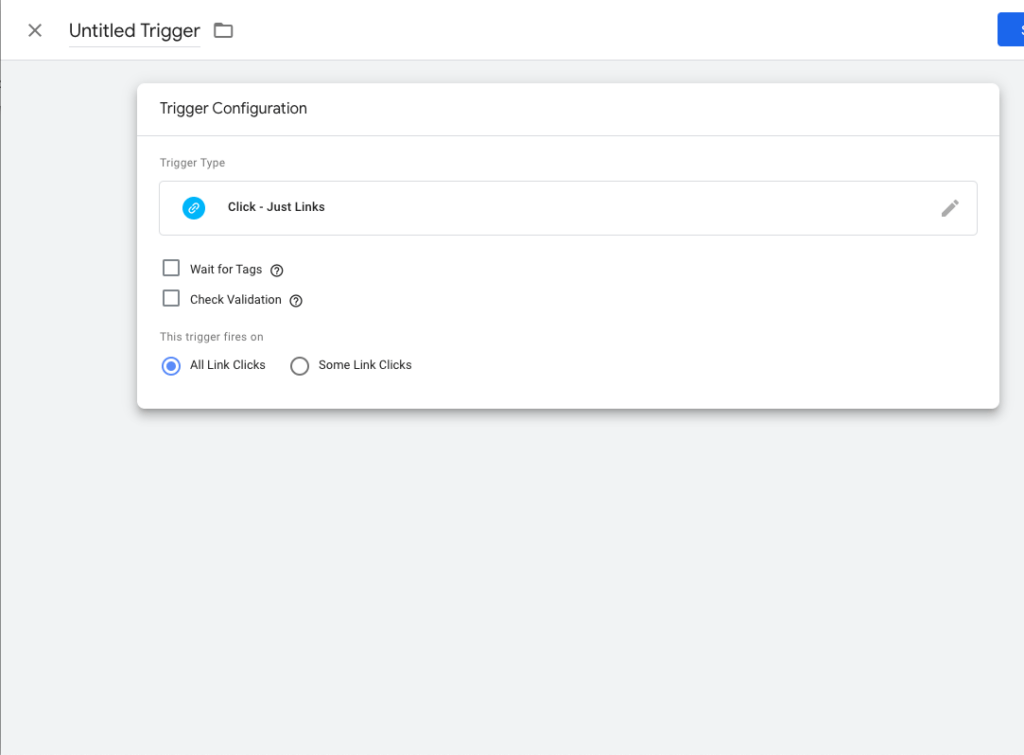
Nevertheless, we do not want it to fire on every Link Click, as There are many more links and buttons on our page. We need to find an attribute that would let us specify the exact element we want to track.
Right-click the Facebook icon on your website and choose Inspect. Look at the link’s href attribute: it contains your Facebook page URL (for example facebook.com/yourcompany). If no other link on the site points there, this is enough as a marker. Click on ‘Some Link Clicks’ in our Trigger configuration, and then ‘Choose Built-In Variable’. As I already mentioned, variables store information that is on a website inside GTM, and Tag Manager has already few built in variables so that you don’t have to manually create everything. Our built-in variable that is needed to be chosen is Click URL.
After that, specify that Click URL should contain your Facebook page address (e.g. ‘facebook.com/yourcompany’), and name your Trigger. I’m calling it Facebook Link Click for the sake of convenience, but you are free to call them whatever you wish. Great! You have created your first Trigger.
(Want to know how to create more Triggers? Check out the second part of the blog!)
Small Tip: If you want to check whether or not your Trigger works, click on Preview in GTM and enter your website’s URL. Your site opens in a new tab connected to Tag Assistant. Click the Facebook link, then switch to the Tag Assistant tab: the click appears as a Link Click event in the left-hand list.
Select that event and open the Variables tab to confirm Click URL contains your Facebook address, so the Trigger conditions are met. Once you attach a tag to this Trigger, it will be listed under Tags Fired for that event. If the site does not connect, check that the GTM container snippet is installed on the page and that you are previewing the right container.